Description
The already broad capabilities of PC-DMIS are extended further with new optional support for the skidless Breitmeier Messtechnik Roughness Sensor. Allowing users to measure roughness in PC-DMIS for the first time, the user-friendly interface enables the user to create a roughness scan command in one click, without needing extensive training or to learn new software.
The new Thickness Colormap function provides the user with clear, intuitive graphics showing the thickness of a component. This feature can either show measured thickness using mesh or point cloud data or can be used to show deviations to the CAD model, allowing the user to see immediately where attention is needed.
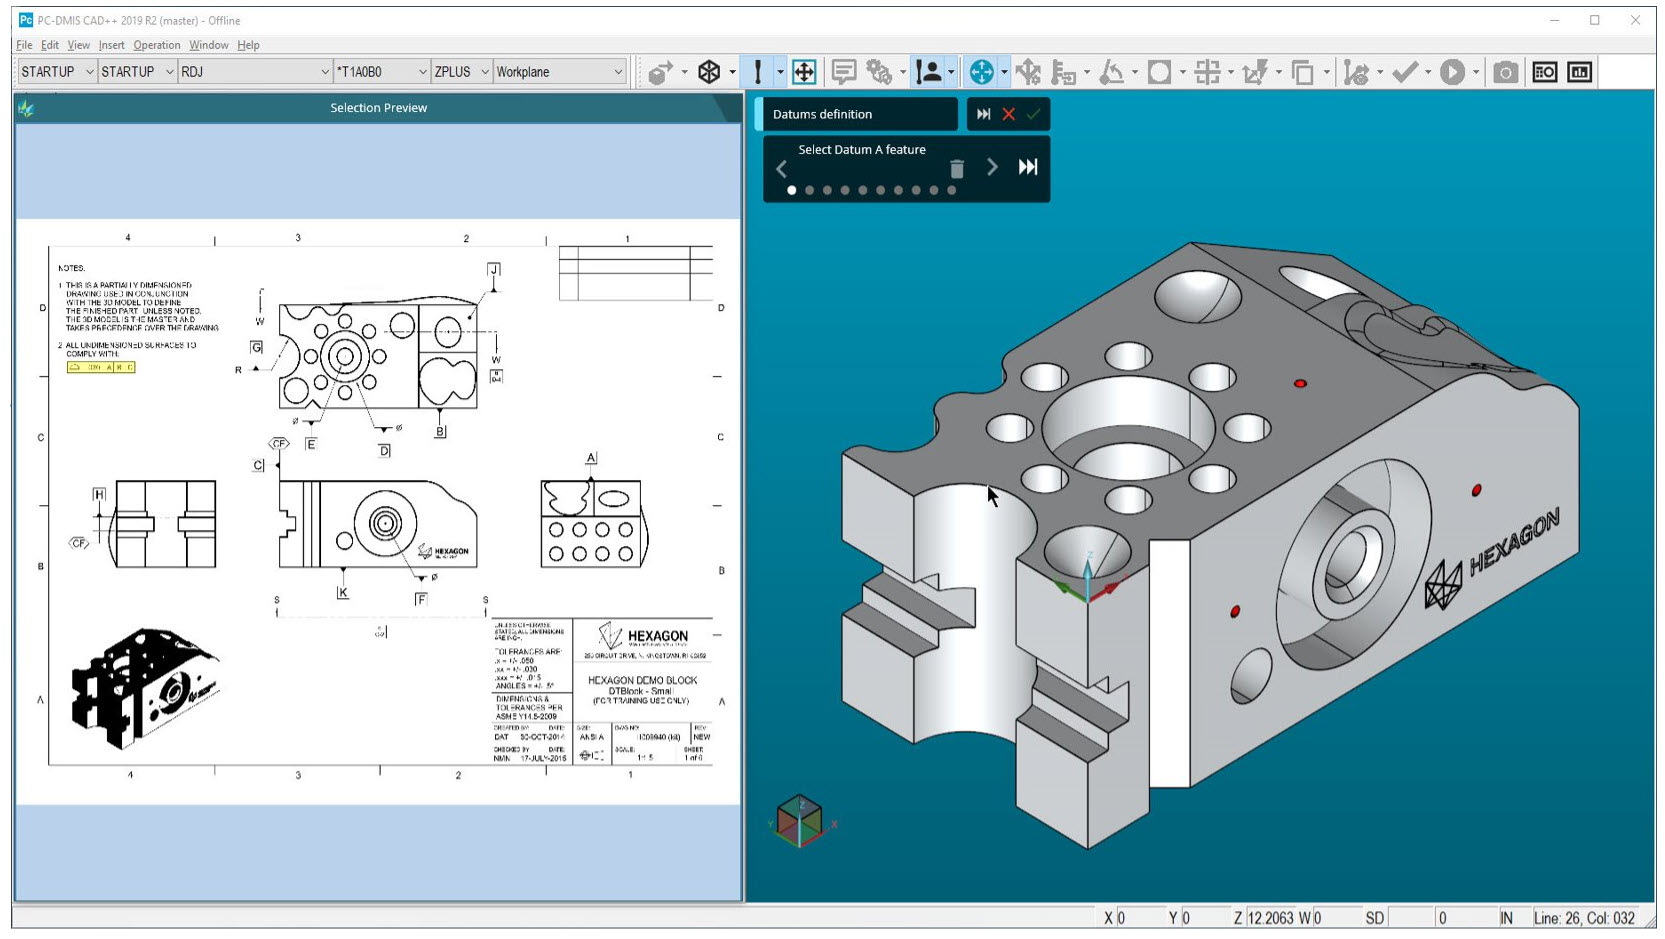
Another notable enhancement includes new capabilities introduced to the software’s widely acclaimed GD&T Selection from Capture. When released in 2019 R1, this new feature helped transform the way GD&T data is added to a measurement program. Now it has been improved with better OCR recognition, including feature control frames, datums and datum targets.
With the new Ring Light Migration feature, users can now move measurement programs from one machine to a machine that uses different ring light configurations faster and with fewer errors. This allows the efficient migration of programs on offline machines, maximising machine productivity. Enhancements to the Measurement Strategy Widget allow quick and easy changes to common measurement parameters with either a single feature or a pattern of features without the need to access the full feature dialogs.
“We are very pleased to release this latest version of our market-leading metrology software PC-DMIS,” says Stephen Graham, President Metrology Software at Hexagon Manufacturing Intelligence. “PC-DMIS 2019 R2 continues our strategy towards meeting the needs of our metrology customers with innovative solutions that save time, drive productivity and enable our customers’ strategies to realize a smarter factory. The improvements in this version bring us ever closer to a perfect balance between user experience and capability.”
Creation
Execution
|
Collaboration
|
Other
| Automation |
|
| CAD |
|
| Devices |
1. Select the Sphere probe from the Probe list on the Settings toolbar.
2. Point the tracker beam at the physical sphere. 3. Click the Take Hit button or press Ctrl+H to measure the sphere. PC-DMIS returns the sphere centerpoint as the measured point.
|
| Features & Pointcloud |
|
| Install |
|
| User Interface |
|




Reviews
There are no reviews yet.